Wednesday, June 26, 2013

A little paint goes a long way...

It's amazing what paint can do. Changing the colour of your walls is one of the most inexpensive ways to change the look and feel of a space.  Since we've been switching around the rooms on our second floor, we figured why not change up the colour of the tv room?!  I've felt like the colour was too cool for a tv room.  I needed it to be warmer, cozier. So, in a couple of evenings, Mr. Fix-it gave the tv room walls a little face lift.

The colour was...Farrow and Ball - Pale Powder.  It's a great colour, soft, coastal and fresh (we have it in our kitchen and breakfast room) but it just didn't give that cozy-watch-a-movie-snuggly feel.

Up went a few paint testers on the wall. I went back to Benjamin Moore 5 times with 5 different colours. Ugh. Buying those little test pots is a great way to test out your colour choices because just when you think you have the perfect colour it changes in different lights....so better to get the colour right before buying a gallon of the wrong one!

 We decided on Benjamin Moore - Stone Harbour for the walls and Benjamin Moore - Willow for the accent wall. 
Stone Harbour
Willow
The before...


The get-it-ready-to-paint...

To the after...


 I forgot to take a photo of the dark accent wall but you can see it a wee bit in these photos...


A can of paint can dramatically or subtly change the feel of a room. Why not give your bathroom, bedroom or tv room a little refresher this summer? Do it and you'll have a fresh.fabulous.sophisticated new space.

Keep it Beautiful.


Friday, June 21, 2013

Fabulous Friday - Dinner Delish!!

Happy Friday everyone!!

Hope you all have a great weekend.  My parent's just bought a new cottage so we're off to celebrate a new place for us all to be! A couple of weekends ago we had Gourmet Night at our friend's house and the menu was fabulouso! Everything was delicious and I want to share it with you if you are looking for something really delicious to make this weekend.  Everything was yum!

Appetizer - Tomato Tarts with Basil and Fresh Goat Cheese
 
http://www.williams-sonoma.com/recipe/tomato-tarts-with-basil-and-fresh-goat-cheese.html

Salad - Jicama, Avocado, Radish & Orange Salad with Cilantro (Have you ever had Jicama? It was a first for me...it's crunchy and fresh...YUM!)

http://www.finecooking.com/recipes/jicama-avocado-radish-orange-salad-cilantro.aspx?nterms=52368,53280,50074

Main - Orange Mojo Pork Tenderloin
         - Spicy Grilled Corn Salad with Black Beans & Queso Fresco


http://www.finecooking.com/recipes/spicy-grilled-corn-salad-black-beans-queso-fresco.aspx?nterms=52368,53280,50074

Dessert - Brazil-nut Brownies with Dulce de Leche Ice Cream

http://www.chatelaine.com/recipe/quick-and-easy/brazil-nut-brownies-with-dulce-de-leche-ice-cream/

Enjoy these recipes with a couple of glasses of wine and you'll have a fresh.fabulous.sophisticated weekend meal, especially if you need to feed some friends or fam.

Keep it Beautiful.


Monday, June 17, 2013

A Complete Boyz Room

Good morning everyone!

I hope you had a lovely weekend and gave your Dad, hubby or dad-like person-to-you some love. We had a great weekend. Saturday we checked out "Art in the Park"...a great little art show that happens annually in one of Ottawa's parks. If you're looking for cool art, jewelry or pottery then you should definitely mark it on your calendar for next year.


On Sunday, it poured rain, so Mr. Fix-it didn't get to get onto the golf course with his buddies.  However, it was really nice to hang out in the house with the kiddies, play some games, eat yummy food and hang with friends in the evening. Good times.

We also got a chance to finish the boys room. ALLELUIA! Their bunk beds arrived on Thursday and I was in bunk bed heaven. They look great, are well made and our big guy's facial expression when he saw them for the first time was priceless.  He feels like such a big boy being able to sleep on the top bunk. Our little guy is still sleeping in his crib but it appears that he's starting to understand that he and his brother will be bunking together.

So, here is the reveal. We still have a few little things to put up here and there but for the most part she's done.

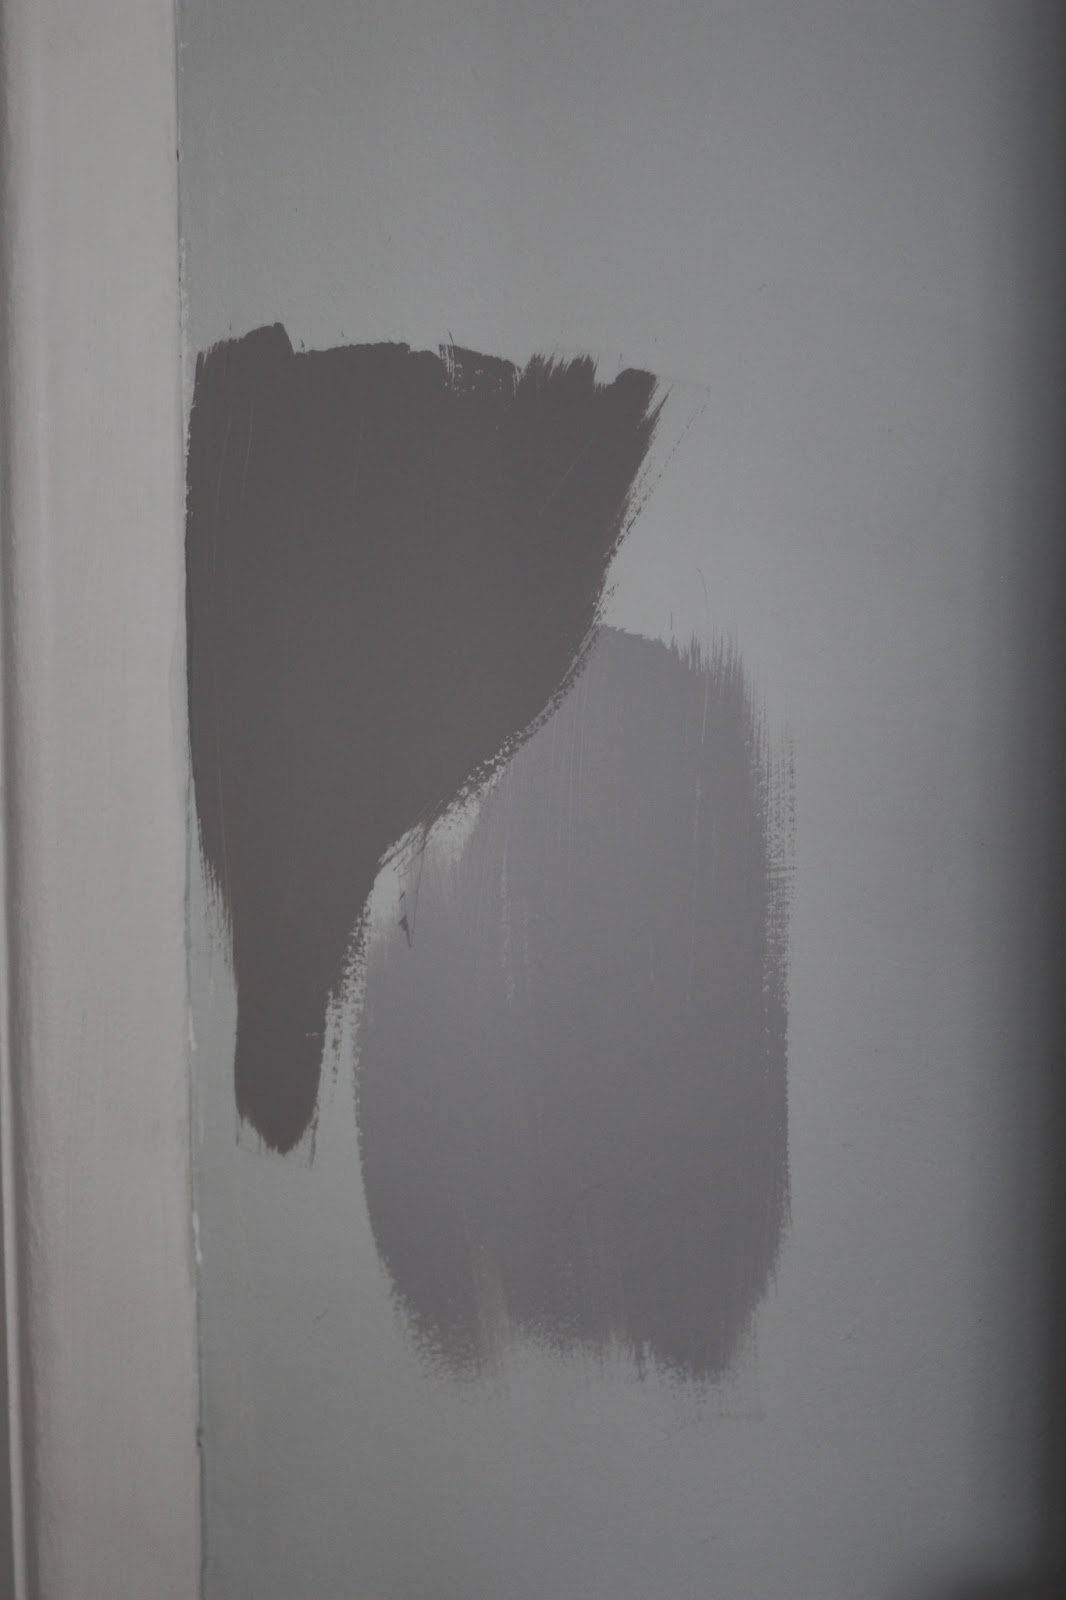
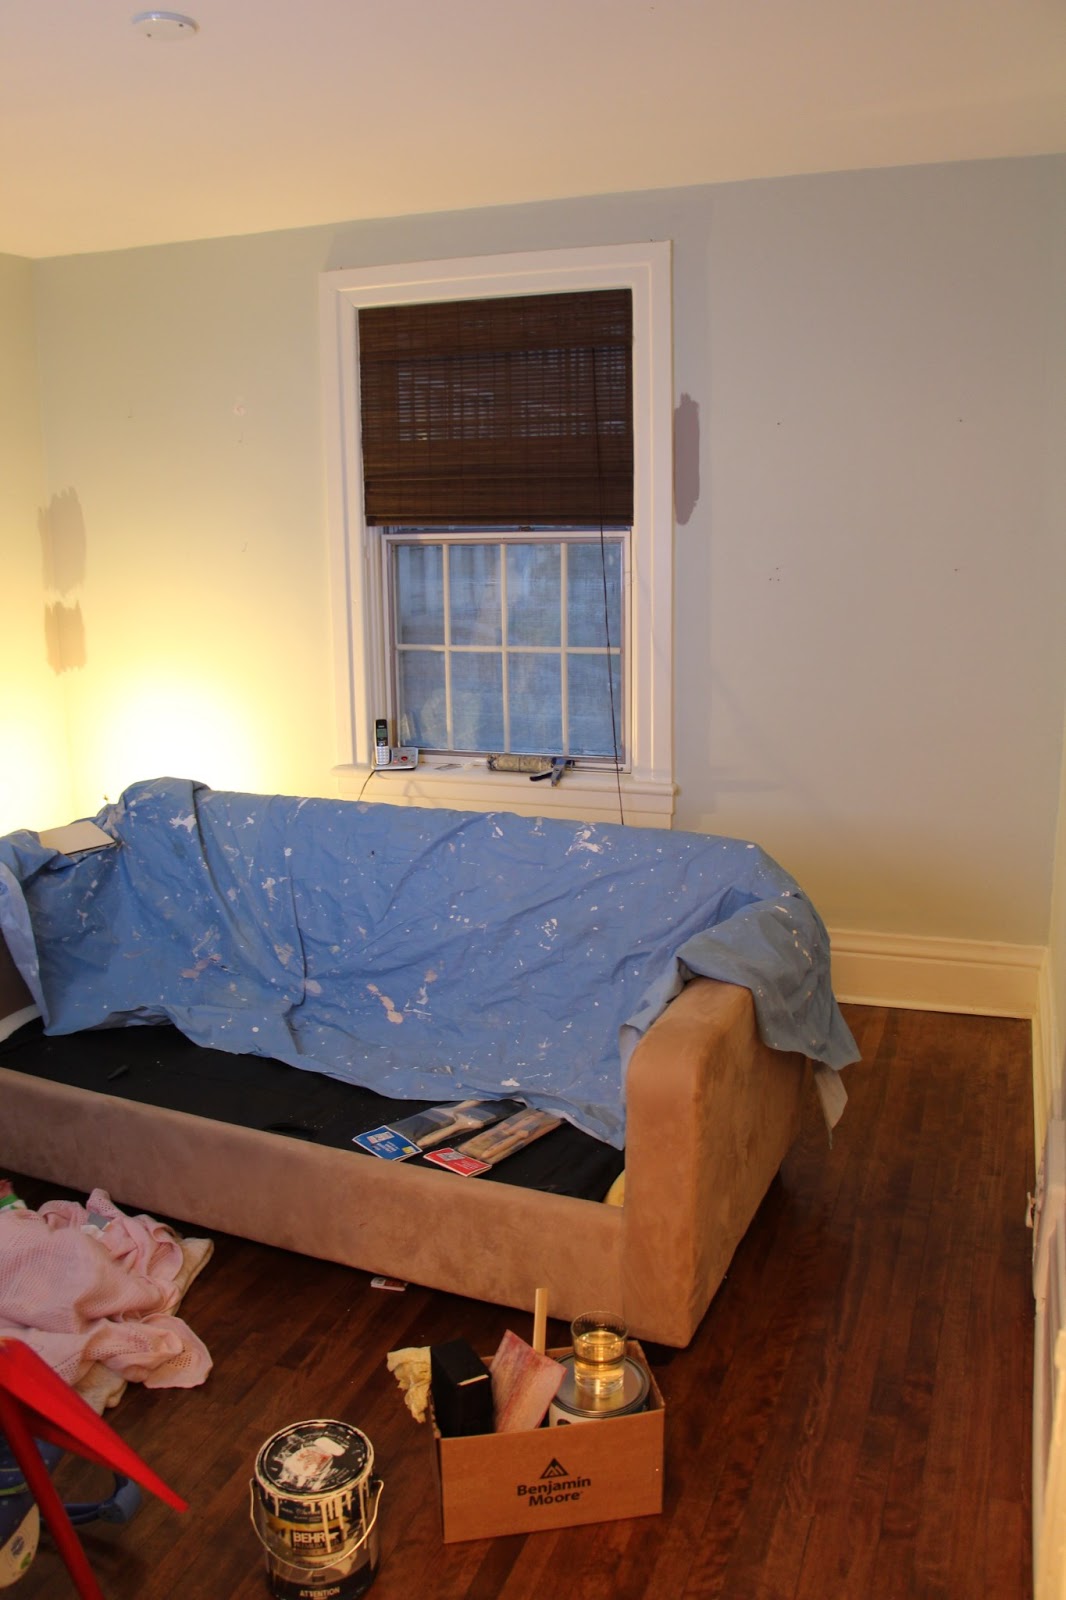
This is what we started with...
  • The "green room" we used to call it...


To this...
 

A room with a view...


A space for a little boy or in this case little boyS should be fun, inspiring, youthful and fresh.  You don't need to have cartoon characters splashed all over the walls to make it cool for them. By adding in pops of your child's favourite colour, sports team or tapping into your child's imagination is a great way to personalize their room but also keep the style and flow of your home décor. In our case, we used pops of orange (our big guy's fav colour and seems to be one of our little guys favourites too), books (they love books), a few sports memorabilia they have and fresh coastal colours to create a fresh.fabulous.sophisticated space of their own.
 
Keep it Beautiful.

Wednesday, June 12, 2013

Window Bench - DIY

I've always wanted a window bench in my home. There is something dreamy about being able to sit up on a comfy cushion against the window and read a good book. A room full of windows was the perfect spot for a cozy bench for the boys, but how to make one was the tricky party.  Enter in a new DIY...

The window bench needed to meet a few needs. It needed to look like a built-in, be comfortable and hold mucho storage. The Expedit shelf from Ikea has gone through many "Ikea hacks" before online and a window seat it will be.

Here is what you need:
  • 2 of these babies...
Ikea Expedit Shelf
 
  • foam (this stuff is ridiculously expensive...no idea why. I got it at Fabricland...look for a sale!)
  • serrated knife
  • sharp scissors
  • Sharpie
  • level
  • fabric
  • adhesive
  • staple gun
  • plywood


  • Lay the Expedit shelves on their sides...

  • To make it comfy, Mr. Fix-it went to the Homer and had them cut down plywood.  Cut one piece the length of one Expedit, and one the length of one Expedit plus the distance from the end of the Expedit to the wall. (We actually had to have four pieces instead of two because the width of our fabric wasn't wide enough to have two cushions, so we had to break it up).

Lay your foam on the boards to see if you need to cut any off or add-to for it all to fit...

  • Use a Sharpie to draw where you need to cut and a level to make sure it's straight!

  • Definitely use a sharp serrated knife to cut the foam for a clean cut...hello bread knife!

  • You'll want to adhere the foam to the plywood but you don't need anything heavy duty because the fabric will hold it on there. We had "No More Nails" in the workroom so we used that.  You could use a spray adhesive also.
  • Make sure it all measures up and the foam is stuck onto the plywood...

  • Lay your fabric face down and place your foam/plywood piece on top. Starting with the long sides, pull the fabric taught and staple it to the plywood.  Just like wrapping a present!
 

Corners last...

VOILA!! A fresh.fabulous.sophisticated no-sew DIY window bench that is cozy and provides lots of storage! Next step is to decide on what baskets to get for those little cubbies.


P.S. Looking for the perfect paint colour? Check out my post on The Ottawa Mommy Club website today.

Keep it Beautiful.

Alicia


Monday, June 10, 2013

A Room for the Boys

Hello everyone!

It's been a little while. I have lots to tell, show and share with you. We've been busy working away on a few projects. Now that we're a party of 5, we've had to do some switch-a-roo of bedrooms. Our two boys really want to share a room (well our little boy really doesn't get it yet but our big guy is very excited about bunking with his little brother).  Although we have space for the boys to have their own rooms, we really want to keep our guest room for now. Sooo...the current guest room is bigger than our current big guy's room so we have completely switched the rooms. Needless to say our second floor looks like a tornado hit it. Yikes...not-so-pretty-guest-room now.

The switch-a-roo begins
Not only is the room bigger for the boys but it has this fabuloso room attached to it filled with windows.  The perfect little reading and play space amongst the trees for the boys. It is one of the features of the house that sold me. Here is the plan for the boys room:

The bunk beds have been ordered and they arrive this week. Mr. Fix-it painted the bedroom Benjamin Moore Stonington Grey and the reading room Benjamin Moore Hale Navy. I'm loving the contrast of the two colours and the crisp contrast between the white trim of the windows and navy colour. J'aime.
The bedding is blue and white pinstripe and I ordered the retro car fabric from Tonic Living for the window seat cushions and then a few accents of blue and orange throughout the space.

When decorating kid's rooms, you don't always need to go cutesy and baby. Especially if you want the room to grow with your kids. Remember, your kid's bedrooms are definitely spaces for them but you want the room to flow with the rest of your home décor.

Up goes the hale navy...

While we've been waiting for the bunks to arrive, Mr. Fix-it has started to re-paint the new guest room (our big guy's old room). Up on those walls is Farrow & Ball's Borrowed Light. Fresh, cool and light.
FB - Borrowed Light

This week I'm going to show you how to make a no-sew window seat that we've made for the boys. It's a fresh.fabulous.sophisticated DIY that isn't difficult and requires zero sewing. Here's a sneak peak.....


Keep it Beautiful.

Related Posts Plugin for WordPress, Blogger...